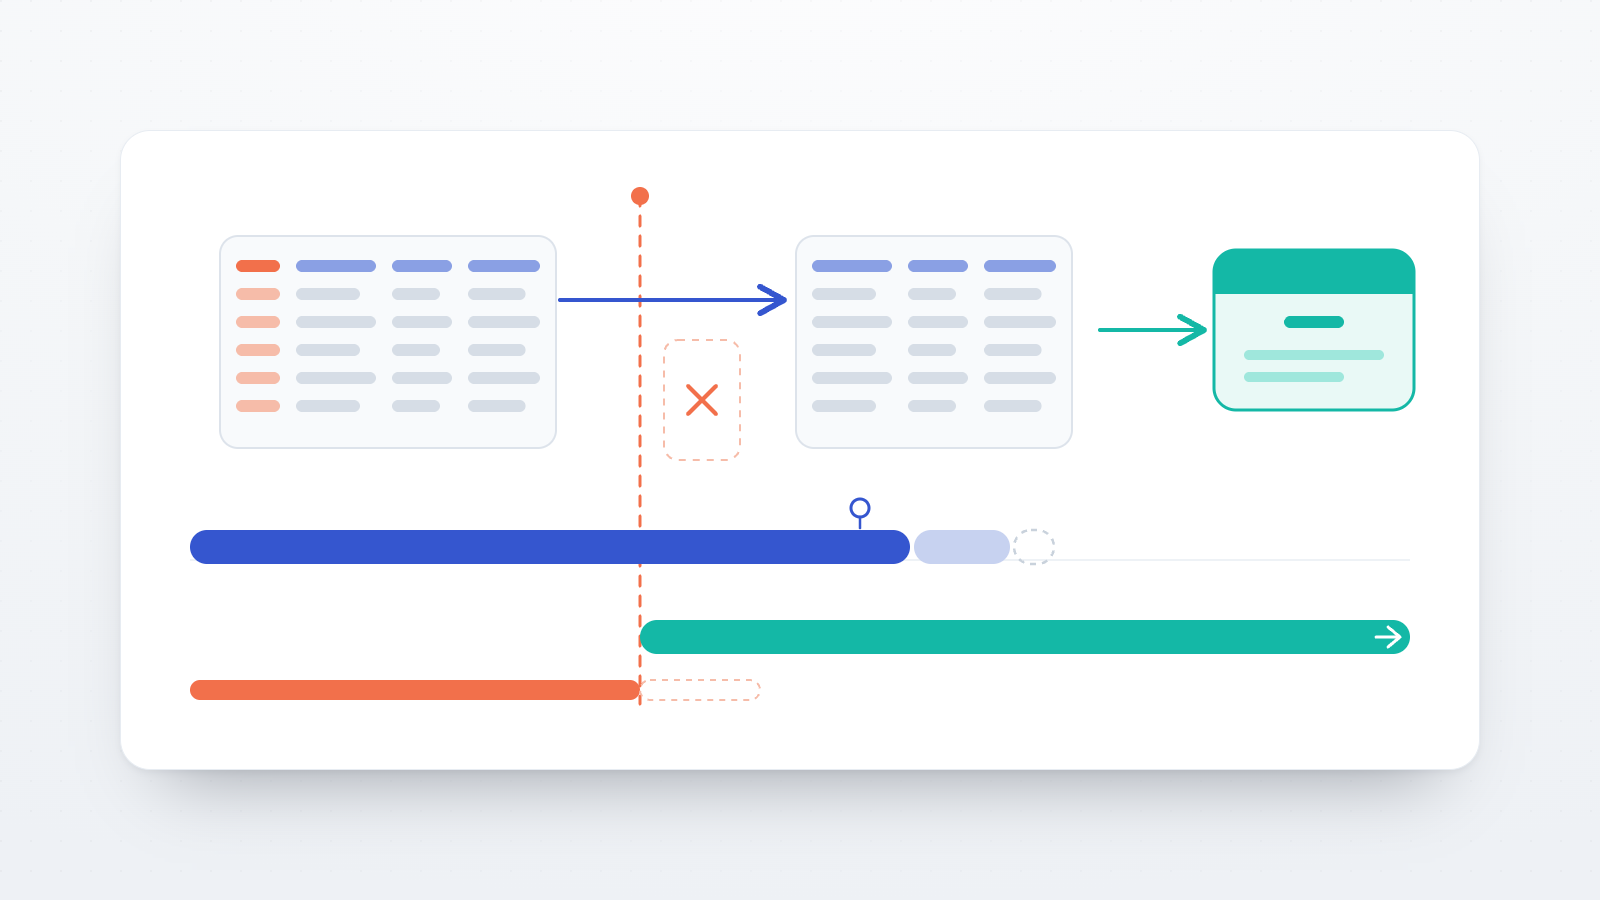
Most problems that ruin an online study are not subtle. A consent screen is missing its withdrawal section, one condition points at the wrong task, the ending screen promises a completion code that never appears, or a task loads on the desktop machine it was built on and fails on a phone. All of these are cheap to find before recruitment and expensive to find after it, once the sessions are already in the dataset.
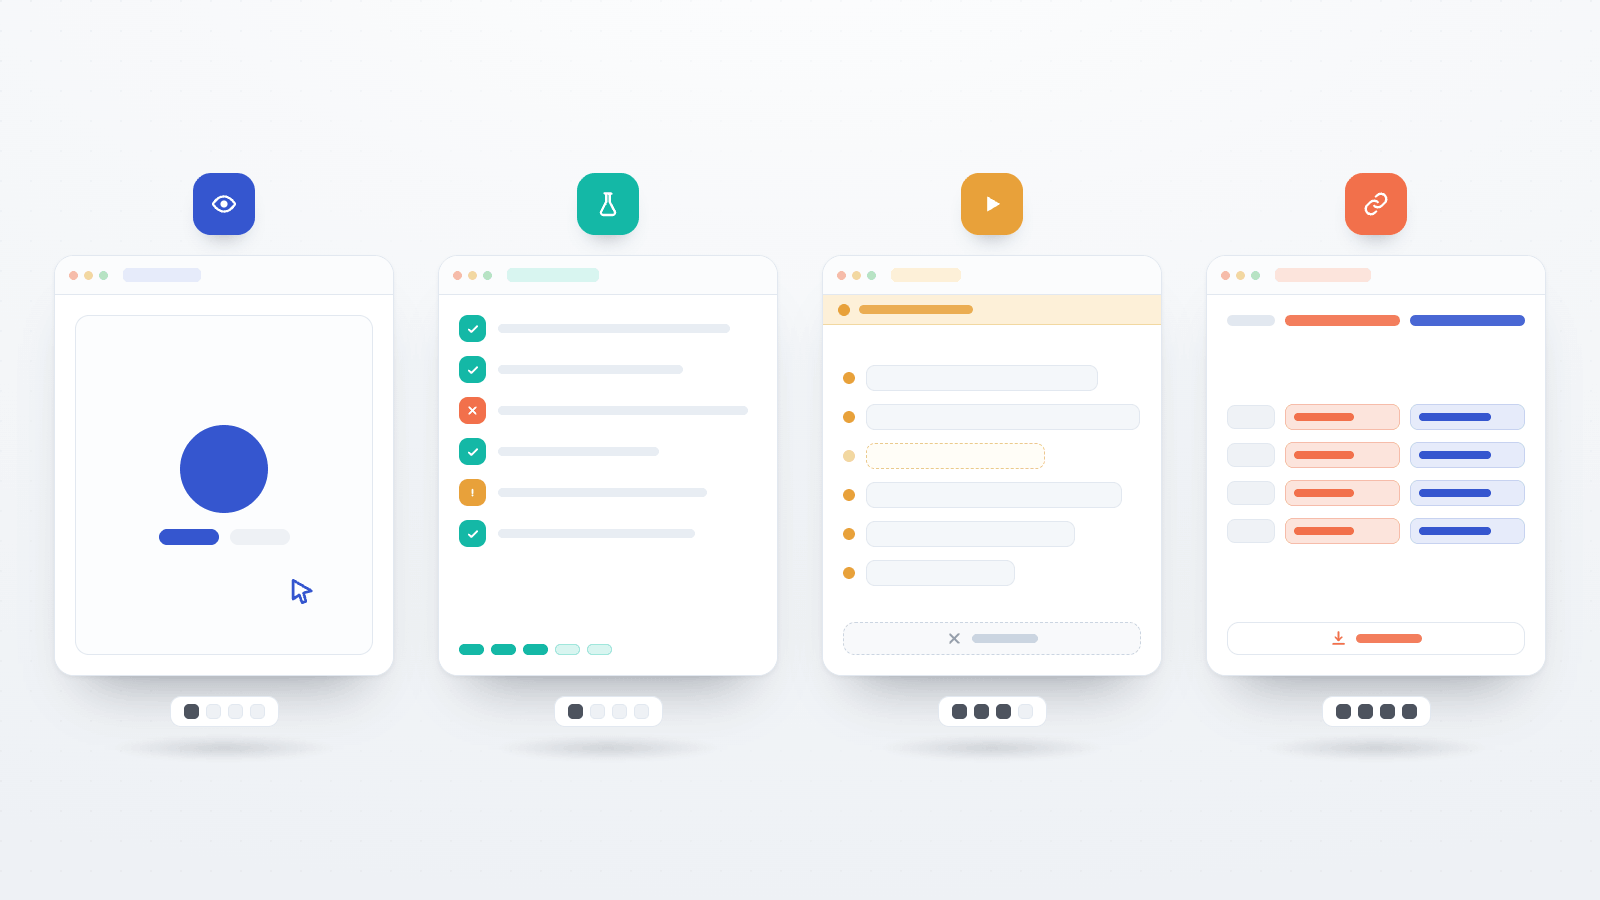
Open Lab has three separate ways to run a study before any participant does. They are often referred to collectively as "preview," but they check different things and have different blind spots, and it is worth knowing which one answers which question.
Three checks, three scopes
Preview task — the eye icon on a lab.js task in the study flow, and a labelled button in the task's editor panel. It opens one task in a window and lets a person play through it by hand.
Test run — the beaker icon next to it. It auto-plays the same task from start to finish with no human input and returns a pass/fail report.
Try demo — a button on the study dashboard and in the study builder header. It walks the entire study flow as a participant would see it: landing page, consent, every task, ending screen, redirect.
None of the three saves data. What separates them is scope: Preview and Test run look at one task, Try demo looks at the study.
Preview task: the current editor state, one task at a time
Preview opens the selected task in a modal or window and runs it. Nothing is recorded, and closing the window returns you to the builder. It requires the lab.js library to load, so a browser blocking scripts on the page will stop it from starting.
The useful property of Preview is that it carries the task-parameter overrides currently in the editor, including ones not yet saved. If you have just changed the number of trials or the wording of an instruction for this study, Preview shows the version you are looking at rather than the version stored on the server. It is the fastest way to answer "does this change look right," question by question, while still editing.
Preview does not resolve anything that depends on the study around the task. It shows one component, not the sequence.
Test run: an automated preflight, not a validity check
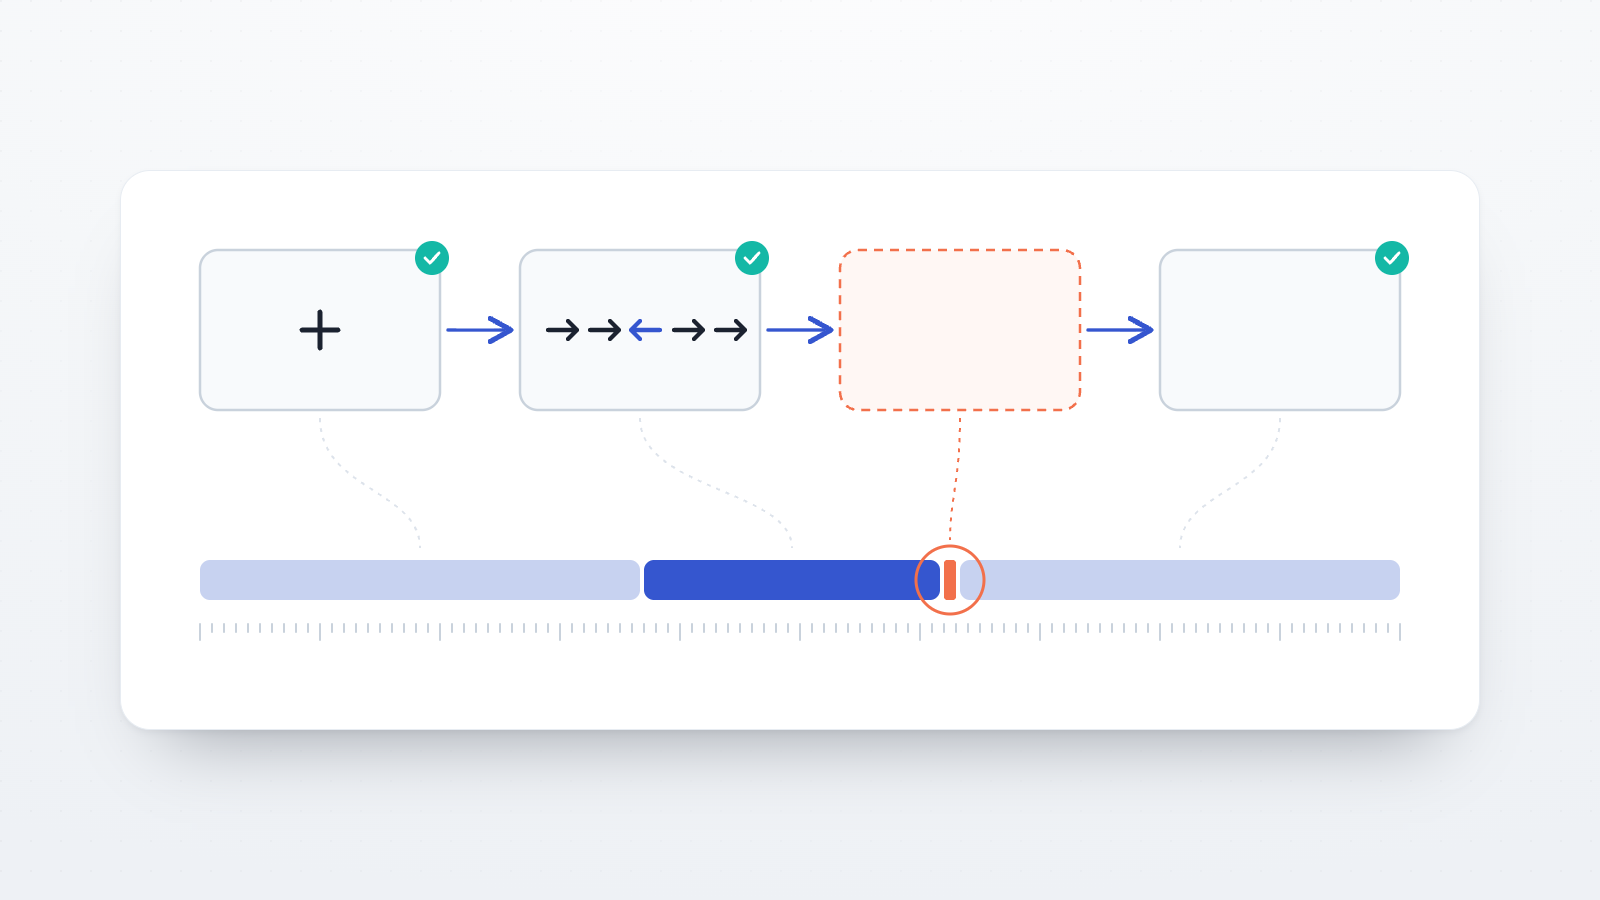
A test run plays the task automatically — every screen is answered by choosing a valid response, and timed screens are simply waited out — and then reports on six things: whether the study loaded and started, whether it reached the end and would have saved data, whether any JavaScript errors occurred, whether images and media loaded, whether it produced data at all, and whether any screen was a dead end. Advisory warnings appear alongside the verdict without failing it, and the test data can be downloaded as CSV to inspect the shape of the output.
An option on the guidance card runs the task five times instead of once. A single run follows one random path; five runs with randomised responses reach more branches. It is slower and still not exhaustive.
Two limits are worth stating plainly. First, the reaction times and accuracy in a test run are artefacts of the automation, not measurements — responses are chosen instantly by a script, so nothing in that report says anything about whether your timing is sound. Second, a test run says nothing about scientific validity: not condition balance, not confounds, not whether an instruction is comprehensible. A green result means the task runs.
On the free plan an account gets ten test runs in total across all tasks, and Basic and above are unlimited. A run is counted when "Start test run" is clicked, so opening the guidance card and cancelling costs nothing. Manual previews are always unlimited.
Try demo: the whole flow, end to end
The demo is the check that most closely resembles being a participant. It runs the same components the participant application uses — the same landing page, the same consent screen, the same task container, the same ending screen — under a fixed amber banner reading "Demo mode — no data is saved."
Three practical details shape how it is used:
It reads the saved study. The demo fetches the study from the server by its code, so unsaved edits in the builder are not in it. Save before opening a demo, or you will be reviewing the previous version of your flow.
The link is short-lived. A demo link is valid for ten minutes from the moment it is generated. Reopening an old demo window shows an expiry notice rather than the study; generate a fresh one from the dashboard or builder.
It is scoped to people who can edit the study. The Try demo button appears on the study dashboard for the study's owner and editors.
This is where flow-level problems surface: a consent section left blank simply does not render, so an absent "withdrawal process" heading is visible in a demo and invisible in the builder's form. Screens in the wrong order, a task that was added twice, an ending screen with placeholder text still in it, and a redirect pointing at a URL that no longer exists all show up here.
What the demo assigns differently from a real session
This is the part most worth understanding, because a demo can look correct while telling you less than it appears to.
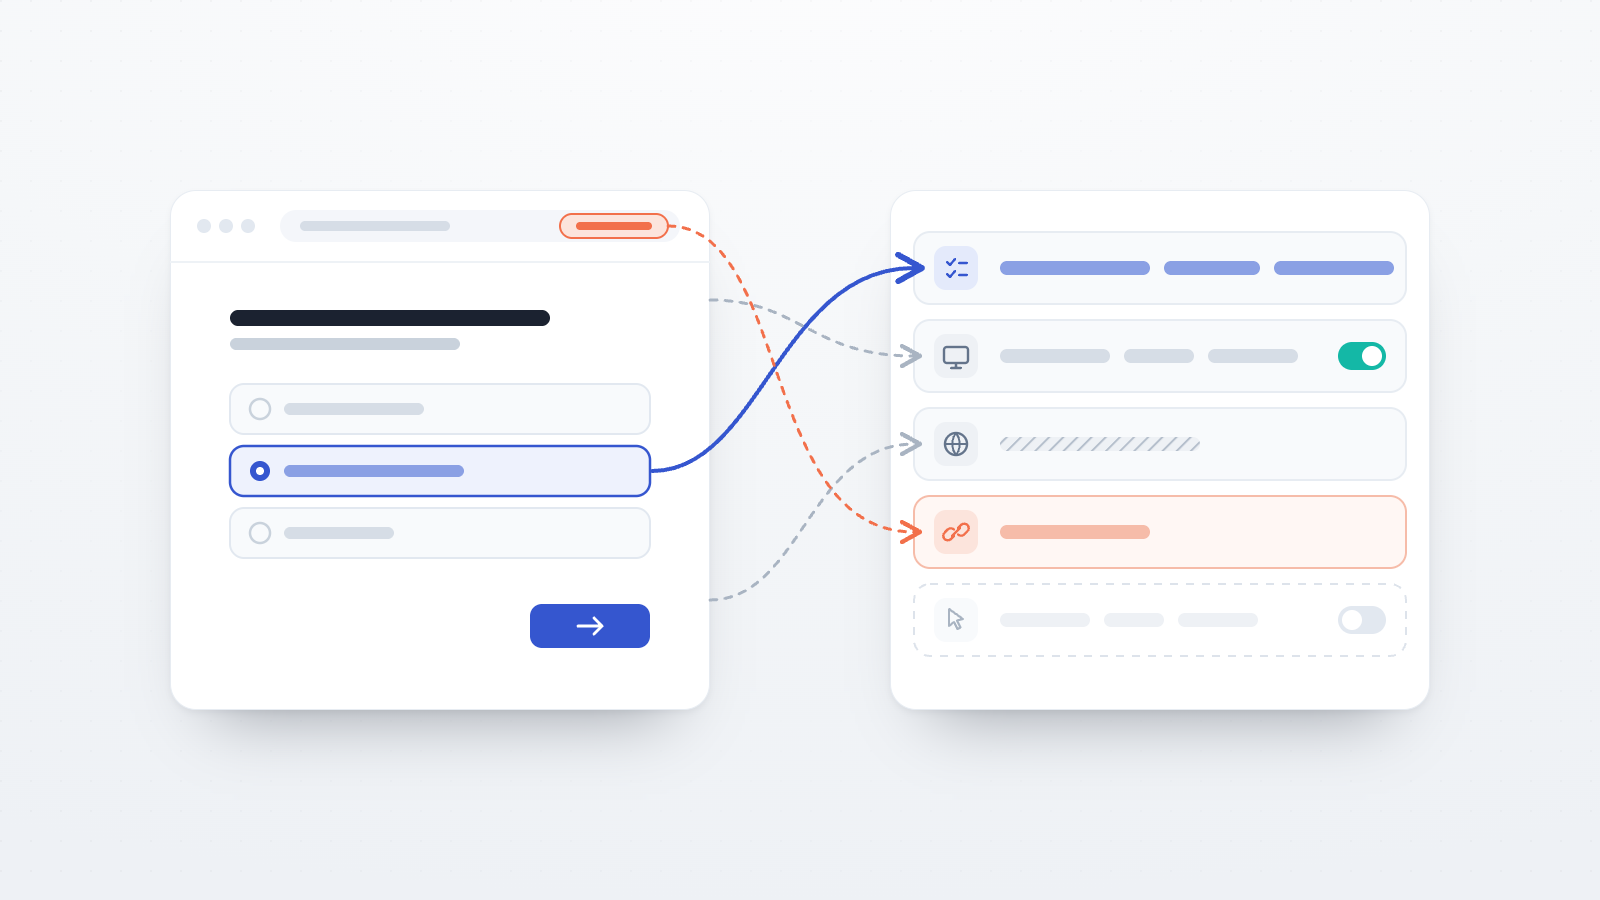
Branching is a client-side random draw. In a real session, each participant's branch is assigned by the server using a minimization algorithm (Pocock–Simon), which counts the participants already assigned to each arm and sends the next one toward whichever arm is most under-filled. In a demo, there is no server assignment and no participant to count, so the browser picks a branch uniformly at random and any weights you configured are ignored.
Group codes are assigned locally. Group-code rules — probability-based assignment configured in the landing page settings — are resolved by the server in a real session, using the same minimization approach. In a demo the browser performs a plain weighted draw instead. One consequence: the browser fallback requires the probabilities to total exactly 100 and shows an assignment error otherwise, while the server normalises whatever it is given to sum to 100. A demo that reports it cannot assign a group code is telling you the rules are untidy, not that a real session would fail.
The practical reading is that a demo verifies that every arm is reachable and wired to the content you intended. It cannot verify balance, because the mechanism that produces balance is not the one running. Proportions seen across demo runs mean nothing; whether each arm shows what it should mean everything.
Because the draw is local, the demo does not make you wait for the arm you want. The banner carries a selector for each branching component in the study, and one for probability-based group codes. Leaving a selector on "Random" keeps the draw; choosing a condition pins it and restarts the run from the first screen, since changing an arm changes the flow. Checking a four-condition study is four deliberate runs rather than however many re-rolls it takes.
Both parameters a task can read are set. The group code arrives as openlab_group_code, and the
branch-derived condition name — the "condition name" field in the branching editor — arrives as
openlab_condition, or as openlab_condition_1, openlab_condition_2 and so on when a study has
more than one branching component. A task that varies its instructions or stimuli by either parameter
behaves in a demo the way it will behave for a participant, which is what makes the selector useful:
it is the difference between confirming the arm exists and confirming the arm shows the right thing.
What no demo run can show you
Nothing is written during a demo. There is no participant record behind it, the data-transmission step is never attached, and no session appears in the Participants list or the Data view afterwards. Demo sessions are not collected and filtered out later; they never enter the study at all. That is the right default, and it also means several parts of a real session are simply absent:
- Completion codes. The ending screen renders the completion-code block only when a code exists, and a demo has no participant to hold one. If your study shows a completion code for a panel, the demo will render the ending screen without it.
- Link parameters. Values passed on the participant link as
lp_-prefixed query parameters — used, for example, to carry a condition or a panel ID assigned outside Open Lab — are read from the participant URL and are not part of a demo. - Paradata and quality signals. Paradata is the aggregate record of a session's clicks, keystrokes, tab switches, and paste events (counts only, never content), used to flag sessions as suspicious. It is off unless enabled for the study, and it is deliberately not collected during preview or demo runs. Nothing in a demo exercises the quality signals.
- Repeat-participation handling. Whether someone who has already completed the study is blocked or allowed back in is decided against stored participant records, which a demo does not create.
- The route in. Invitation emails, direct invitations, tracking links, the study code, and the public study listing all sit in front of the flow and are untouched by a demo. Email invitations have their own preview in the invitation manager.
- Language selection. A demo renders in the language your own browser requests, and the task's translations resolve accordingly. To inspect a specific translation, the task's localization page has a per-language preview, which opens the task directly in the language you choose.
The pilot a demo does not replace
Studies in Draft and In Review are already reachable through their direct link. Neither state
is publicly listed — a study becomes discoverable through the participant application's search only
once it is Active and its visibility is set to public — but anyone holding the link can join, and
their session is real. Piloting with two or three colleagues on the real participant link
(app.open-lab.online/studies/<study-code>) is what exercises everything the demo leaves out:
enrolment, server-side condition assignment, saved data, completion codes, link parameters, quality
signals, and the actual download you will analyse.
Those sessions are real data, so plan for them. Participants can be removed individually or in bulk from the Participants page, with a confirmation warning when they hold data, and the notes field on each row is a reasonable place to mark a session as a pilot if you would rather keep it. Deciding which of the two before you start is easier than deciding afterwards.
Ask pilot participants to use their own devices rather than yours. Screen size, browser, and input method are the variables least likely to be represented by the machine the study was built on, and they are the ones a demo replicates least well.
A pre-launch checklist
- Test run each lab.js task, with the five-run coverage option where the task has branches. Resolve anything that fails to load, errors, dead-ends, or produces no data.
- Preview the tasks you have parameterised, to confirm the study-level overrides read the way you intended.
- Save the study, then run a demo end to end and read every screen as a participant would: landing text, consent sections, instructions, ending text, redirect target.
- Step through every arm using the condition selector in the demo banner, confirming each one
shows the content it should and that any
openlab_condition/openlab_group_codelogic inside the task responds. Ignore the proportions — balance is not what a demo tests. - Check the ending screen's promises against what a real session produces — particularly a completion code, which will not appear in a demo.
- Pilot on the real link while the study is in Draft, on someone else's device, with a colleague who has not seen the study.
- Open the Data view and download the export from that pilot session. Confirm the variables you plan to analyse are present and named as expected. This is the check that most reliably finds a task that runs perfectly and records the wrong thing.
- Remove or annotate the pilot participants, then move the study to Active.
Steps 1 to 5 cost nothing and take a few minutes. Steps 6 and 7 cost one or two sessions of someone's time and are the only way to see the study as your data will see it.