Going online with a behavioural experiment raises a practical question before any of the science: which tool does what? A lot of early confusion comes from expecting one tool to do everything — design the trials, recruit participants, store the data, and handle consent. lab.js and Open Lab split that work on purpose, and understanding the split is most of the battle.
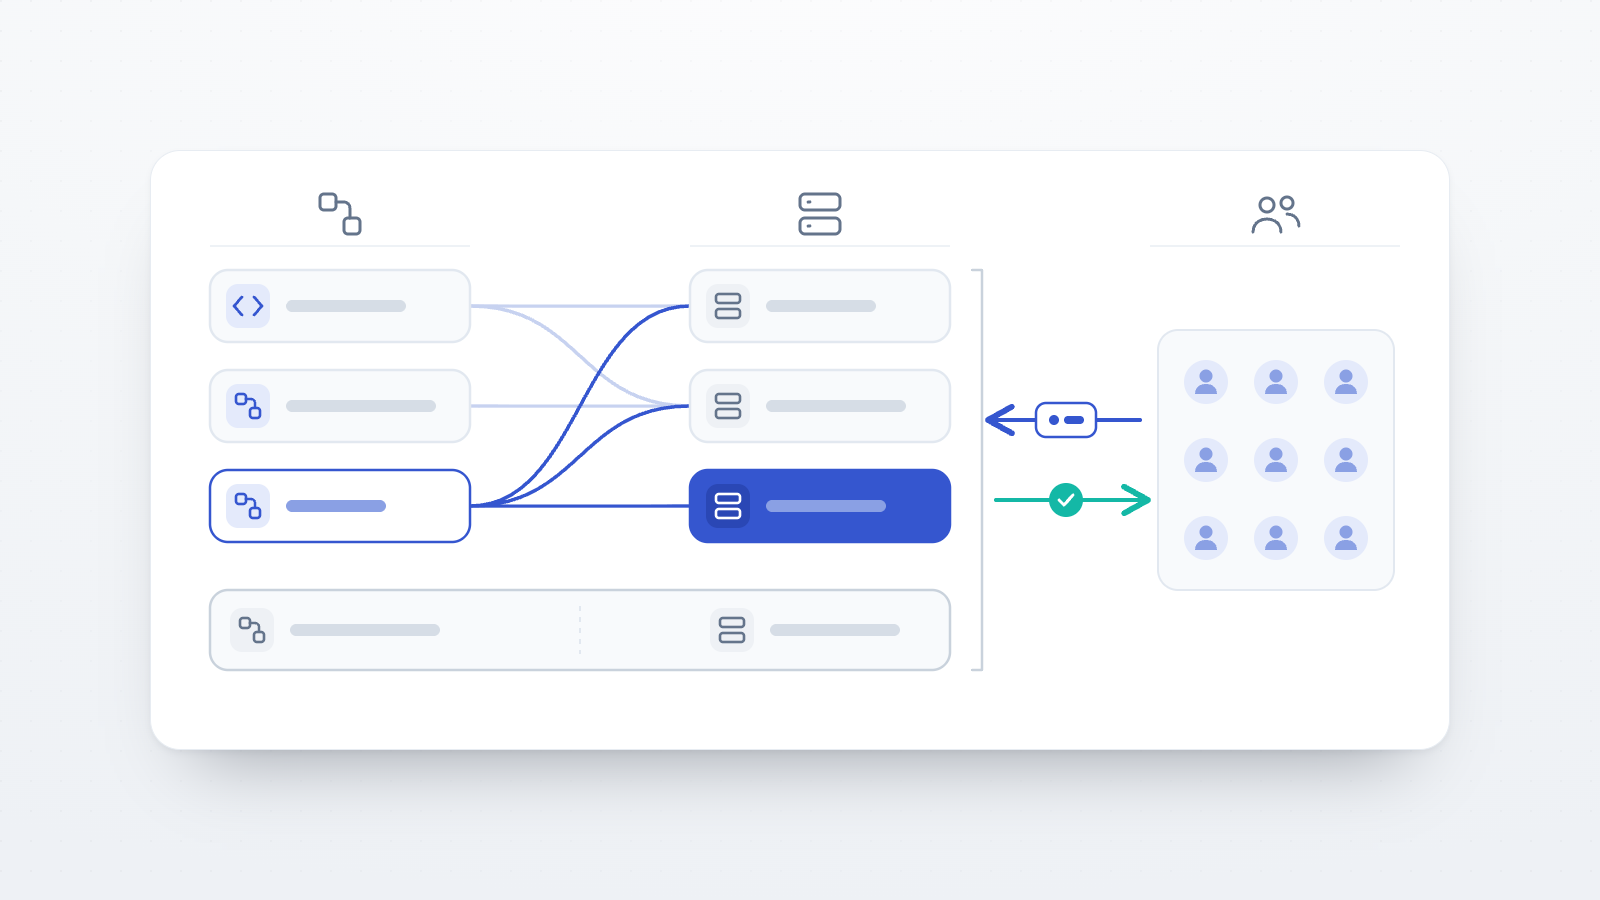
lab.js builds the task — the actual sequence of screens, trials, and responses a participant sees. Open Lab wraps that task in everything needed to run it with real people: the study logic, participant management, secure data collection, and analysis. Put simply, lab.js makes the experiment; Open Lab makes it a study you can run, manage, and analyse. Open Lab is not a competing experiment builder — it is the layer around the task.
This walkthrough follows one experiment from a blank lab.js canvas to exported data ready for R or Python, naming the part of the toolchain responsible at each step.
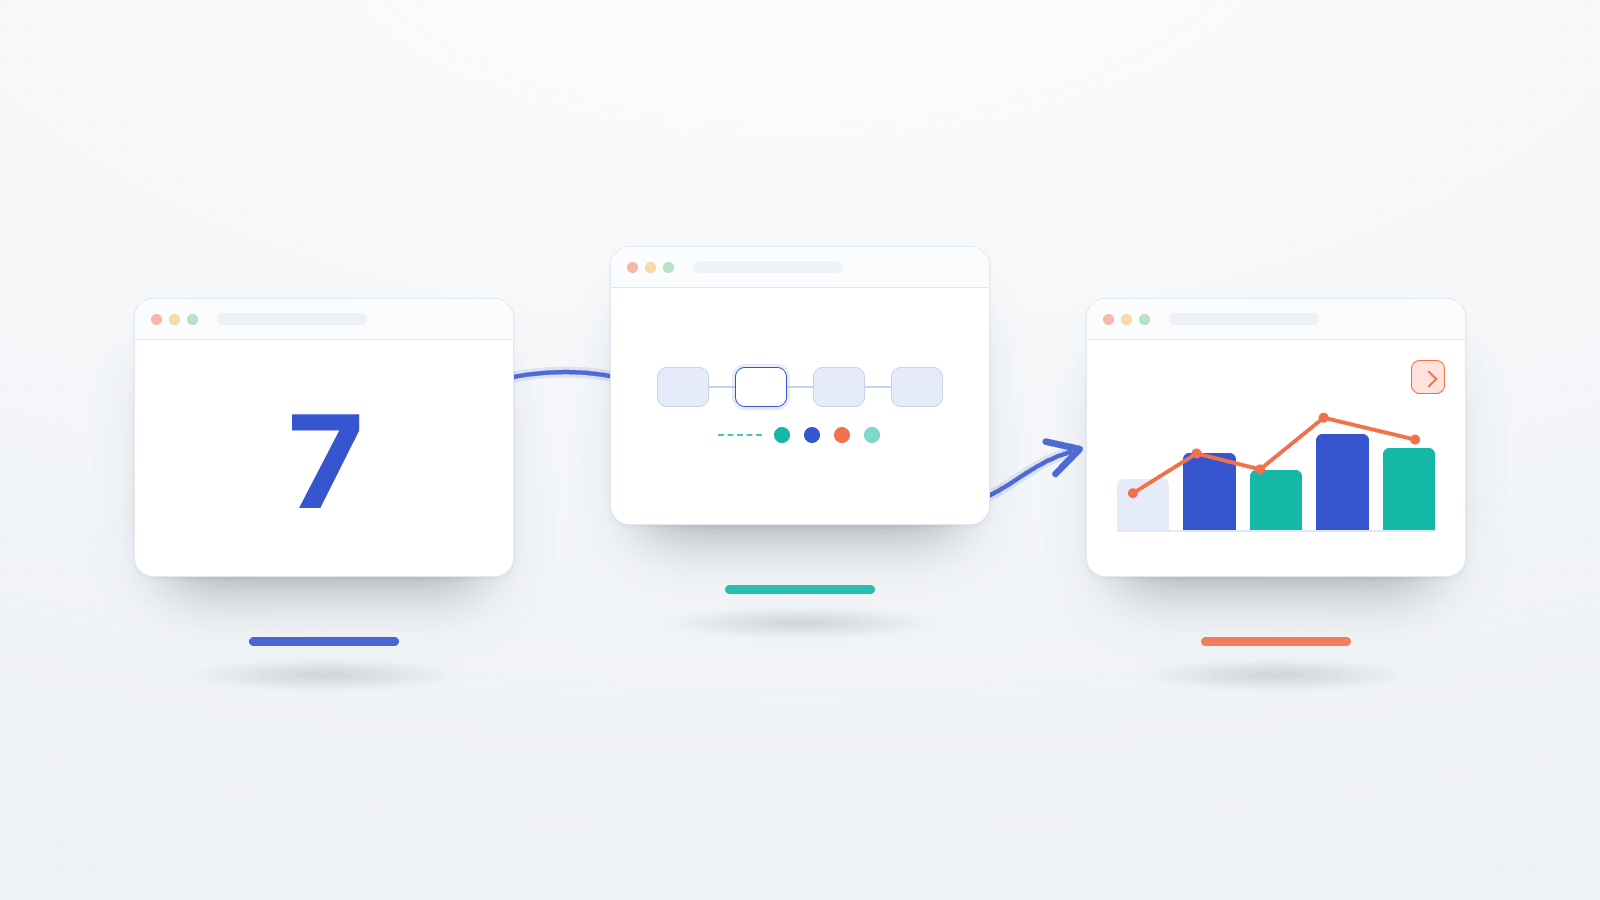
The mental model: Task → Study → Project
Three concepts carry the whole workflow. Getting them straight up front makes everything else fall into place:
- Task — the experiment itself: a lab.js file of screens, trials, and responses. It is the smallest reusable building block, built once and then referenced by many studies. Your tasks live in a personal library ("My Tasks").
- Study — a run with participants: one or more tasks configured for a specific deployment, with a participant link, a language, a randomization scheme, and the live data that comes in. A study owns the data it collects and moves through a lifecycle — Draft → In Review → Active → Completed.
- Project — the research effort: a workspace that groups related studies (replications, samples, conditions) and the collaborators working on them. It is the unit you would name in a paper.
Hold that in mind and the rest is mostly filling in the steps.
Step 1 — Build the task in lab.js
Start in the lab.js builder. You assemble the experiment out of screens and components — instructions, stimuli, response collection — and arrange them into the sequence of trials your design calls for. lab.js scales from a short questionnaire to a precise cognitive paradigm (a Stroop or flanker task, lexical decision, an n-back), so the same tool covers most of what behavioural research needs.
When the task runs the way you want, you leave lab.js one of two ways: export it directly to Open Lab, or export it as a JSON file to upload later. Either way, the design lives in a portable file rather than being locked to one machine.
Step 2 — Bring the task into Open Lab
There are two routes in, matching the two exports above:
- Direct export from the lab.js builder, which creates the task in your Open Lab account automatically.
- Upload the exported JSON yourself, in the Study Builder or in "My Tasks."
Because tasks are reusable, you upload one once and reference it from as many studies as you like — handy for replications, or for a shared battery of tasks used across a project.
Step 3 — Assemble the study
This is where a task becomes something participants can actually take. In the Study Builder you add one or more tasks as components and arrange them into a flow. Two things worth doing here:
- Randomization and branching. You can randomize which condition a participant receives — for a between-subjects design (where each participant sees only one condition, assigned at random).
- Languages. A study can be offered in more than one language, which matters if you are running the same task across language groups.
Before you invite anyone, use Preview to walk through the participant experience yourself. You can preview either a task (Preview or Test run) or a whole study (Try demo). With the test run, Open Lab plays the task automatically, from start to finish — then show you a report at the end. A study starts as a Draft, and you move it to Active once it is ready to collect data.
Step 4 — Decide how data is stored and consented (before recruiting)
Settle the data-handling questions your ethics board or IRB will ask about before the first session arrives. Open Lab stores data encrypted, on GDPR-compliant servers in Germany, with configurable retention — and it gives you three ways to handle the encryption keys:
- Account-key (vault) encryption — the default. Data is locked to your account key; you unlock your encryption vault (with your password or a recovery code) and data decrypts automatically, with no key files to manage. This is end-to-end — meaning the data is encrypted such that only you (and collaborators you grant) can read it.
- Per-study key pair — an end-to-end alternative for researchers who want to hold their own keys: the study has its own key pair and you download and keep the private key file. (It is shown only once, and a lost key means unrecoverable data — so store it carefully.)
- Server-side encryption — the convenience option. Data is encrypted at rest, but Open Lab manages the key, which means the platform can access the data. Not end-to-end, but simplest to recover.
Which one you choose is a genuine trade-off between convenience and control; sensitive-category data usually points toward one of the two end-to-end options.
Step 5 — Recruit participants
Participants reach your study through an invitation link, a study code, or by finding a public study on the participant website. Invitation links come in a few types:
- Public and direct links for open or targeted sharing, and
- Tracking links, which attribute each sign-up to a source — so you can see whether a panel, a course pool, or a social-media post brought the participants worth having.
One point of category confusion worth clearing up: Open Lab manages recruitment and invitations, but it is not itself a participant panel. If you need paid participants, run Open Lab alongside a panel such as Prolific or MTurk — the panel supplies the people, Open Lab runs the study and holds the data. For in-person or shared-machine sessions, Box / kiosk mode runs the study locked down on a lab computer.
Step 6 — Monitor and analyse
As sessions come in, each study's Data view refreshes on its own (about every 30 seconds) with charts and summary metrics, so you can watch collection in near-real time. Because the data is web-collected, Open Lab also surfaces quality signals — participants are flagged as verified, suspicious, or AI from paradata (the behavioural traces of how a session was completed, as opposed to the answers themselves). The collection of paradata should be actively enabled by you beforehand in the data quality centre of your study. That is directly useful online, where bots and inattentive responders are a real threat to data quality.
For analysis, the Data Explorer is an in-browser workspace (built on DuckDB) over your combined data: a visual query builder, a SQL mode for anyone who prefers to write queries, chart building, and CSV download. Notebooks in Python or R are available on the Pro plan, and the number of rows you can work with scales with your plan. When you are ready to analyse elsewhere, export the data in your format of choice and continue in R or Python.
Step 7 — Report, share, and reuse
When it comes time to write up, the Project is the unit you name in the paper, and its studies are the runs behind your results. Because tasks are versioned and reusable, the same task file reruns cleanly for a replication or a fresh sample — which is also what makes the materials easy to share. Cite both tools when you publish; lab.js and Open Lab sit behind a large and growing body of peer-reviewed behavioural research.
Where each tool's job ends
If you remember one thing, make it the division of labour: lab.js builds the task; Open Lab runs the study, manages participants, and stores the data. Don't reach for lab.js to manage recruitment, and don't expect Open Lab to design your trials for you. Kept in their lanes, the two cover the whole path from design to dataset.
The fastest way to see whether this fits your own design is to build a short task in lab.js, export it into Open Lab, wrap it as a study, and hit Preview. That loop takes an afternoon — and it is the same loop, at small scale, that carries a full study from idea to published data.