Study Management
Overview
Managing studies is a core component of the Open Lab platform, enabling researchers to create, customize, and publish online research studies tailored to their objectives. This section provides a detailed guide on creating studies from scratch or using templates, and monitoring them through the study dashboard. Whether you’re studying behavioral patterns, cognitive tasks, or psychological experiments, the study management tools offer flexibility and control over every aspect of your research design.
Studies on the Open Lab platform can include interactive experiments and surveys built with lab.js, along with participant management settings, all configured through an intuitive web interface. The platform supports both small-scale pilot studies and large-scale research projects, with options to reuse existing templates for efficiency.
Creating a New Study
To create a new study, navigate to the studies page at https://research.open-lab.online/dashboard/studies from the researcher dashboard. This page lists all your existing studies and provides two primary options for creating a new study: starting from scratch or using a public template.
Creating a Study from Scratch
Starting from scratch allows you to design a study tailored to your specific research needs. This approach is ideal when you have a unique study design or when existing templates do not meet your requirements.
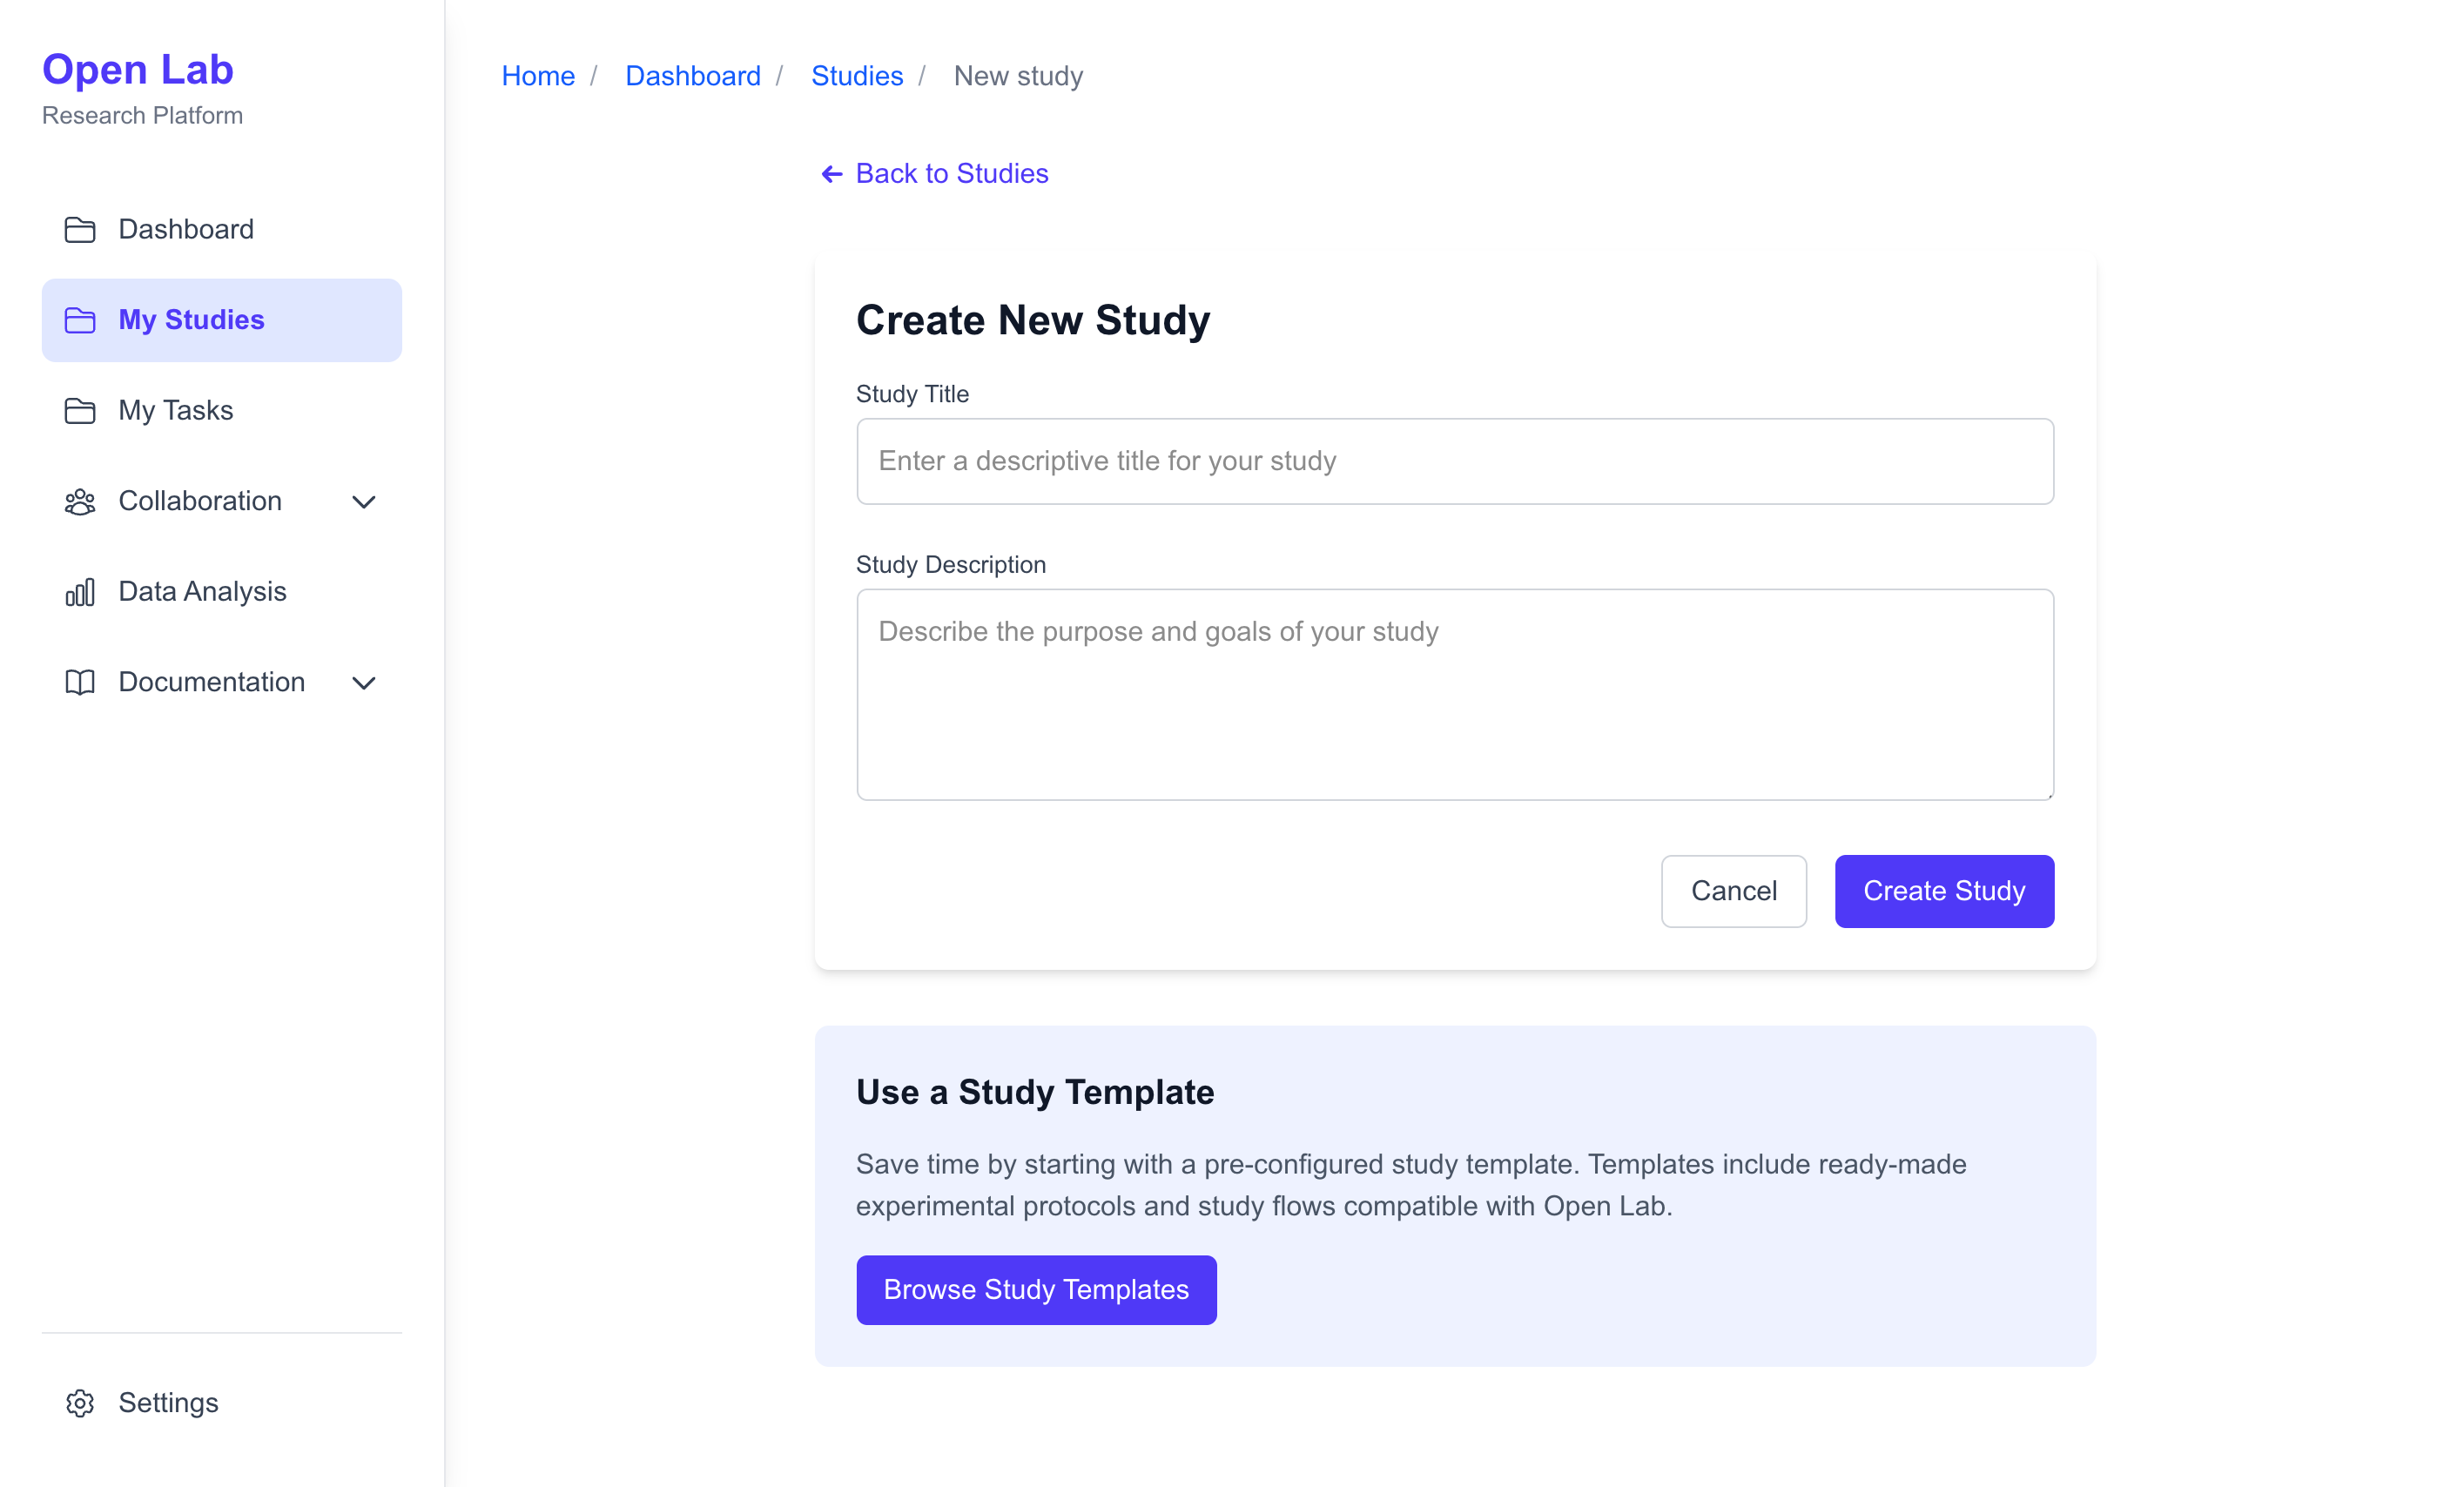
- Access the Creation Page: On the studies page, click the “Create New Study” button, prominently displayed in the interface.
- Enter Study Details: Provide a descriptive title (e.g., “Cognitive Task Performance Study”) and a detailed description outlining the study’s purpose, objectives, and participant expectations. These fields are editable later, so you can refine them as needed.
- Create the Study: Click the “Create Study” button to generate the study. You will be redirected to the study’s dashboard, from where you can access editing options.
Example: For a study on decision-making, you might title it “Decision-Making Under Uncertainty” and describe it as “A study to explore how individuals make decisions in uncertain scenarios, using interactive tasks built with lab.js.”
Troubleshooting Tip: If the “Create Study” button is disabled, ensure all required fields (title and description) are filled. Error messages will appear below empty fields to guide you.
Creating a Study from a Template
Using a template saves time by providing pre-configured study designs, complete with tasks, surveys, and study flow settings. Templates are particularly useful for common research designs or when you’re new to the platform.
- Browse Templates: On the studies page, click the “Use Template” button to access the template library.
- Filter and Explore: Use filters to narrow templates by task type (e.g., surveys, experiments) or study flow (e.g., randomization). Click a template card to view details, such as its tasks and settings.
- Create from Template: Select a template that aligns with your research goals and click “Use the template.” A new study will be created, pre-populated with the template’s configurations, which you can further customize.
Example: For a reaction time study, you might choose a template titled “Reaction Time Experiment,” which includes a lab.js-based task and randomization for between-subjects design.

The Study Dashboard
Once a study is created, you can access its dashboard at https://research.open-lab.online/dashboard/studies/[study-id]. The dashboard serves as the central hub for monitoring and managing an individual study, providing an overview of its status, key metrics, and quick access to related actions.
The dashboard is divided into several sections for easy navigation:
Study Header
At the top of the dashboard, you'll find the study header displaying:
- Study Title and Description: The main title and a brief description of the study.
- Status Pill: Shows the study's current status. A study moves through six statuses: Draft, In Review, Active, Completed, Paused, and Archived (new studies start as Draft). If you have permission to change the status, the pill is clickable: selecting it opens a "Change study status" modal where you pick the new status from the list and confirm.
- Last Updated: The date when the study was last modified.
There's also a "Back to Studies" link to return to the main studies list.
Action Buttons
Below the header, a set of action buttons provides quick access to common tasks:
- Edit Study Flow: Takes you to the study builder to modify the study's tasks, surveys, and flow.
- Open Participant Page: Opens the participant-facing page for the study in a new tab. Set the study to Active (via the status pill described above) when you are ready to collect data from participants.
- Study Settings: Access advanced settings like encryption and deletion options.
Stats Cards
The dashboard features three stats cards displaying key metrics:
- Participants: Shows the number of enrolled participants with a link to manage them.
- Data collected: Shows the number of sessions that produced data, with the total amount of data uploaded and a link to view data.
- Quality: Shows how many sessions are verified (and how many are flagged), with a link to open Data Quality.
Charts and Recent Activity
Below the stats cards, the dashboard shows live study analytics that refresh automatically as data comes in: a "Unique participants per day" chart (with 7-day, 30-day, and all-time views), a conversion funnel from started to completed with average and median duration and drop-off, and a table of recent sessions. When a study splits participants across groups, a condition-comparison panel and a recruitment-sources breakdown also appear.

Next Steps
With your study created and monitored via the dashboard, explore the following sections to continue building and managing your research on the Open Lab platform:
Study Setup
- Study Builder: Design study flows, upload lab.js JSON files for tasks and surveys.
- Invitation Management: Manage invitations for participants to join studies.
- Participant Management: Manage participant enrollment and study settings.
- Settings: Manage study settings.
Collaboration
- Projects: Create and manage project cards to describe your research needs.
- Collaborators: Find, invite, and collaborate with other researchers.
Data
- Data Analysis: Build visualizations to analyze study data.
- Data Reports: Generate comprehensive reports from study data.